|
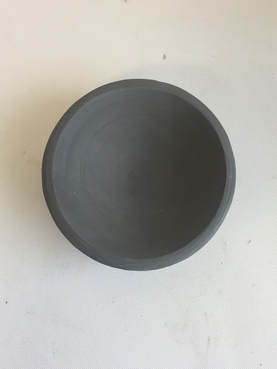
(MY FINAL EXAM IS BELOW THIS POST I JUST FORGOT TO POST THIS BLOG POST) Explain the process of throwing. The first thing I did was try and center the clay so that it wouldn't be lopsided when I finished. After that I pushed in both of my thumbs into the center of my clay and made sure everything was smooth and even. Once I had made a shape I was proud of I let it dry and used a wire cutter to cut off my piece and let it try for a day as well after this I set it to be fired. What difficulties did you have trying the wheel? I struggled with centering my piece because when you center clay you need to be going pretty fast which made it hard because I needed to keep my arms locked into place in order for me to be able to do anything with the clay. I also struggled with getting my shape down because I didn't know when I should stop pressing down with my thumbs. What did you find successful? I found that sealing the clay to the board before centering helped a lot because it insured that the clay wasn't going to get water under it and fly off. I also found sponges helpful because they made my piece look smoother from the inside and out.
0 Comments
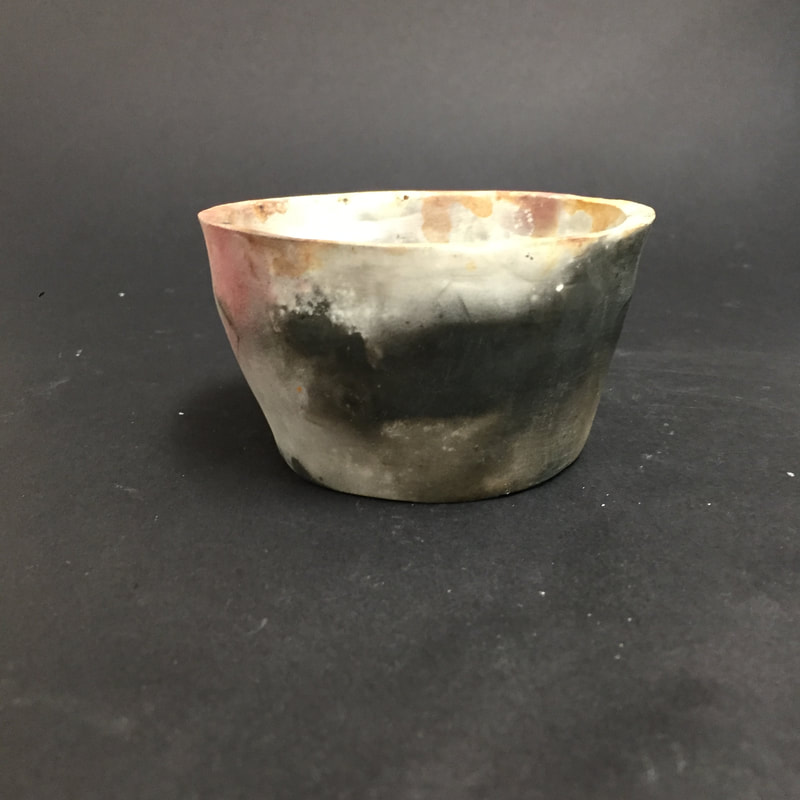
*inspiration screenshots* 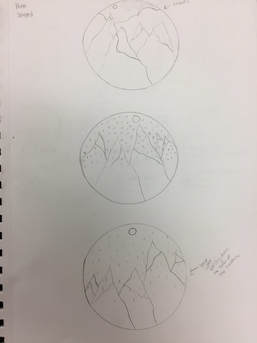 My plan is to make 3 plate designs and each one has a different pattern to it. One would just be a simple design with mountains and clouds during the night. The other two would be the mountains while it is raining and the last one would be a snowing night. How did you get your idea? What inspired you? I just thought this would be a fun idea to do and i've always have loved going to the mountains. 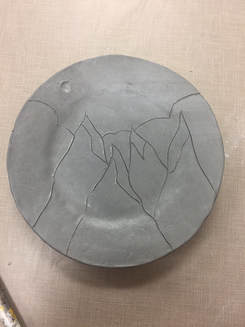 I first stretched out the clay and put it over a plate with plastic rap on it. I then began to sketch out the design i wanted and i used the end of a tool to make the "moon". After this i put coats of underglaze on the piece and waited for it to dry. Once it has dried i began to scratch off the underglaze for the clouds.
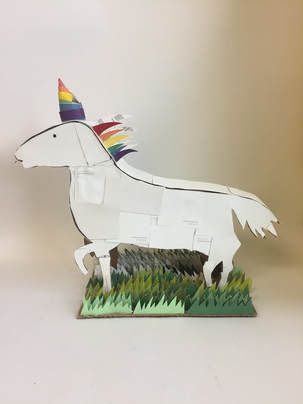
 How did you piece progress? The first thing i did was make a paper template of the horse shape I then began to get three pieces of cardboard. Two of them were for the horse shape and the third one was for the bottom. Once I got the body shape of the cardboard I went ahead and got a thinner cardboard piece and split it up so that i would have a thin sheet of cardboard paper to fill in the gaps between the template pieces. When I finished filling in the gaps i then started apply the white paint samples onto the horse. I also did this for the tail, mane, and the unicorn head. For these steps i just used hot glue to stick them on to the horse. Once i was done with the main parts i started to work on the grass which was also made of paint samples, I just cut them out so they looked like grass and hot glued them to the bottom cardboard piece to give the sculpture a more "3-D" look to it. 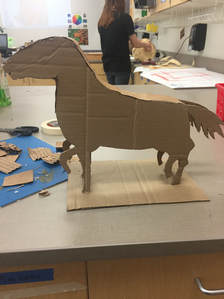 What did you find most difficult about the piece? The most difficult thing about making this piece was trying to get it to stick the paint samples correctly because my sculpture isn't just flat and even. So i had to cut the samples to fix the edges of the sculpture and guess and check it. What did you find most successful about the piece? I found that sketching the outline of the grass helped out alot when i was cutting it. I also put 2 paint samples under each other to make the process go faster because i had to cut out a lot of grass pieces. *my other photos are on a slideshow shown above
|
AuthorWrite something about yourself. No need to be fancy, just an overview. Archives
January 2018
Categories |
 RSS Feed
